Bernice
Here is another T-shirt from Bernice

What was the pattern you used (listed as year and number) and the fabric you
used?
N° 184 - 2013 and a cotton moderate knit fabric.
How long have you been using Lutterloh patterns or the number of patterns
you've made?
I've been using Lutterloh from september 2015 and this
is my 4th Lutterloh pattern.
What did you like about the pattern/process; did you have any difficulties?
In my kit of Lutterloh patterns (2013) there wasn't
any simple T-Shirt. Though some of them had the knit symbol they were sleeveless,
or had openings, or gathers or soft pleats. Being my first experience with knit
fabric I wanted to stitch something simple so I chose this pattern because it
had a side dart and raglan sleeves, but I didn't like the turtle neck. So I
made a round neck and finished the neckline with a simple band (your
video reference). As
in my previous patterns the bust measurement had an ease of 9 cm and
the armhole was a bit small. So I did the necessary adjustements there
to make it according to my taste. The sleeve had an opening in the crown
which was difficult to understand though I drafted it as explained. So I
drafted it into a simple raglan sleeve and shaped the neck accordingly. For the hem finishes I used a knit stay fusible, and a twin needle (your reference). On the left hand side of the raglan sleeve seam I embroidered 3 small round mirors. It was fun
and excitement about stitching knit fabric for the first time.
What sewing machine do you use?
For this knit fabric I used only Janome Jeans &
stretch 8077.
What is your favorite sewing tool?
My favorite tool after my sewing machine is my
cutting board which my husband and I made from a large plank of wood. I put my
own markings on it in inches and centimetres, to help me cut straight lines, right angles, semi-circles to cut flares… and I place it on my adjustable ironing table whenver I
need it.
***********************************************************
My name is Susan, I live in Baja California Sur, Mexico
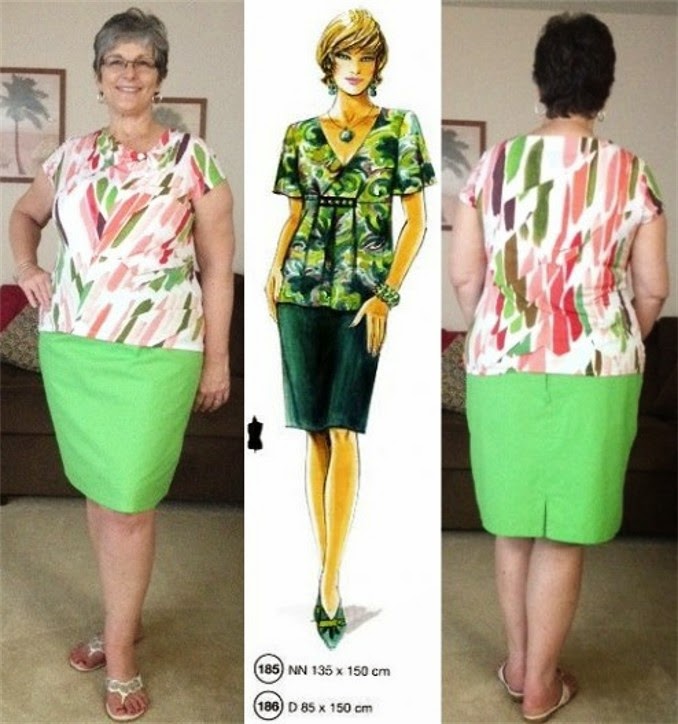
Supplement 287 pattern 205 2012
I
have been using Lutterloh since the 80's. I was a tiny size 4 my
daughter a larger size and I sewed for both of us. Some boxes including
the one with my Lutterloh stuff in it got lost in our move in 2000 and
it wasn't until 2007 when I purchased a used system and got started
again. Counting my past pattern work I have made 100s.
I
love the drafting, cutting sewing and fit. I decided not to use the
facing as the pattern called for and made a neck binding. It did not
work as well as I would have liked. I also changed the high, jewel neck
to a deep v-neck.
I have a Janome Horizon 7700 and a Babylock Imagine 2 serger.
I have no favorite tool, I love everything in my sewing room!
It is wonderful to have family here, and wonderful when they go. But the letdown afterward is sometimes hard.
Saludos,
Susan
************************************************************
What
is your first name and country where you live?
Joe from central Missouri,
U.S.A.
What
was the pattern you used (listed as year and number) and the fabric
you used?
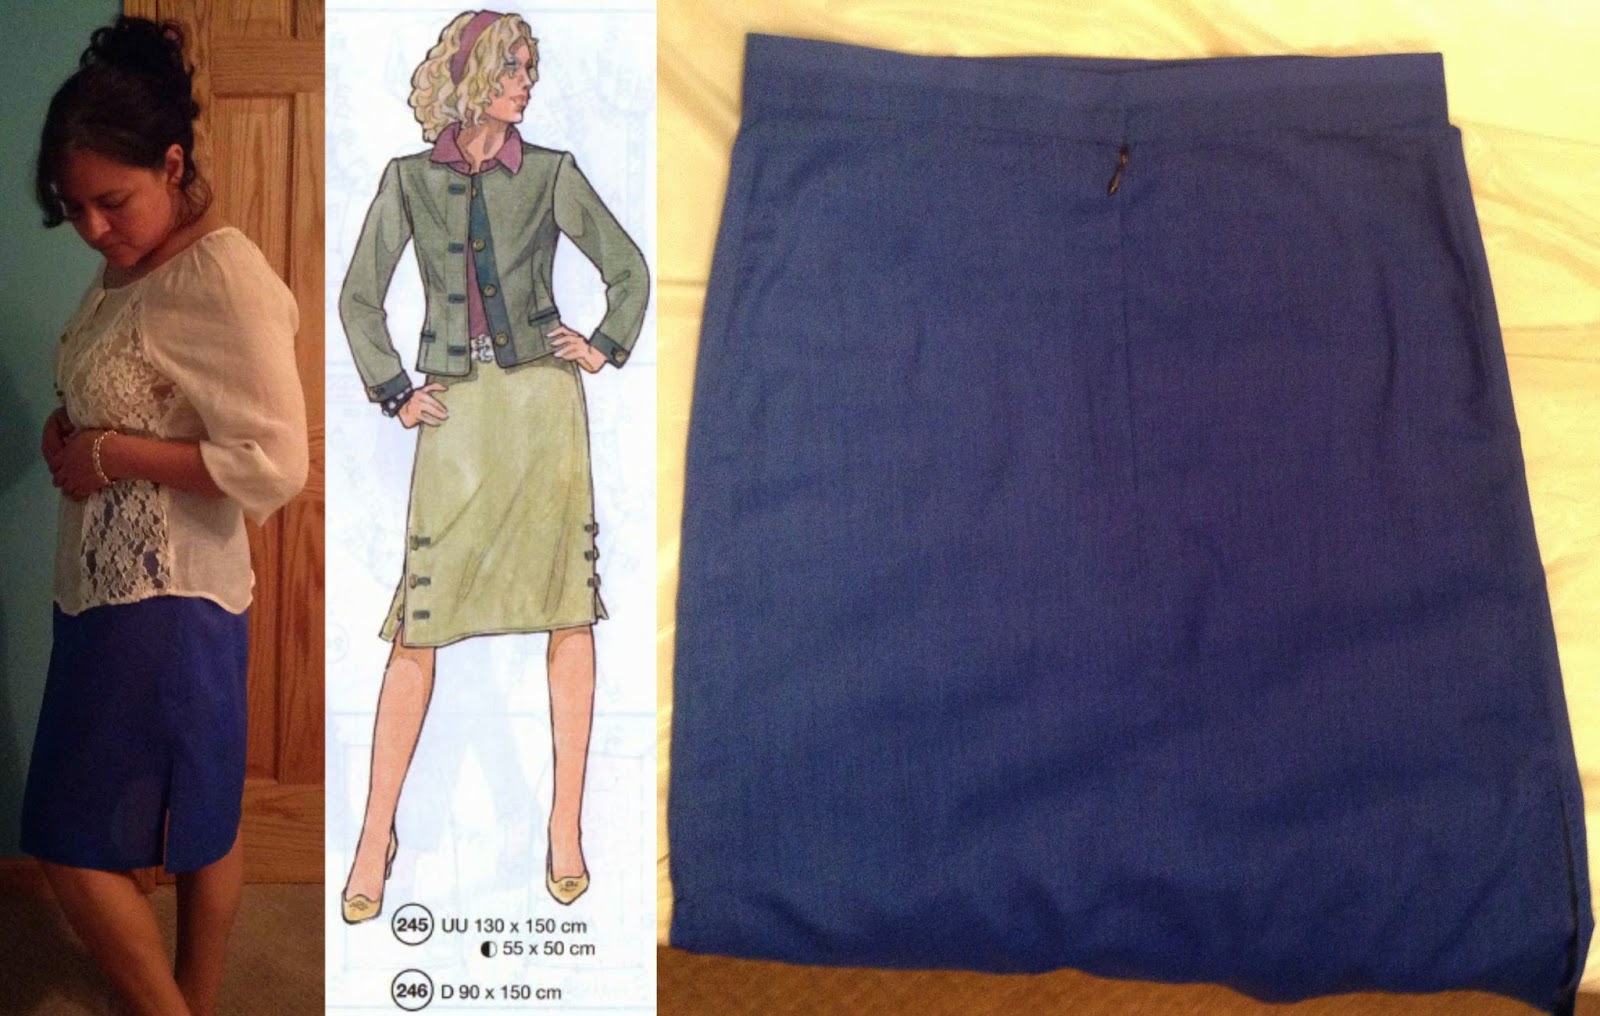
Special
Edition No. 27 (2000?) #37
I
used a thin cotton jersey knit from Wal-Mart. I wish I had followed
Fonnell's advice and gone with something with more weight.
How
long have you been using Lutterloh patterns or the number of
patterns you've made?
I have made a few shirts and pajama shirts with Lutterloh patterns in the
past couple of years.
What
did you like about the pattern/process; did you have any
difficulties?
Am always impressed with
how these patterns go together. I wish I had watched the binding
video before I put my binding on, I assumed that the shoulder seams
were the two center sides, assuming that may have caused some
puckering in the end result. In spite of that I am pleased with how
my shirt turned out. This will be a work shirt layered on top of or
underneath another shirt.
What
sewing machine do you use?
A Kenmore 158.1345. A
five dollar thrift shop find that has never failed me and began my
vintage sewing machine interest.
What
is your favorite sewing tool?
I lucked into a Singer no. 74 Spinet cabinet that I
find to be the most cleverly designed sewing cabinet. Small when
closed, ample leg room for a big guy when opened, machine (a Singer
201) is angled in the cabinet placing the needle closer to you, the
stool “locks in place” underneath the cabinet when closed
keeping prying hands away from scissors, buttonholers etc All
though, I didn't use that machine on this project.
*****************************************************************

What is your first name and country where you live? Ann in Calif., USA
What was the pattern you used (listed as year and number) and the fabric you used? 2015/Pattern #238 from Supplement 298. I used a fine cotton rib knit with giraffes printed on it and a heavier rib knit for the neck and sleeve bands.
How long have you been using Lutterloh patterns or the number of patterns you've made? I've been using Lutterloh patterns since 2008.
What did you like about the pattern/process; did you have any difficulties? I wanted to see if a slim fit womens pattern would work for my slim pre-teen niece. It worked much better than using the patterns for children because I didn't need to lengthen it.
What sewing machine do you use? I use a Brother 4500D sewing machine and a Babylock Enlighten serger.
What is your favorite sewing tool ? I use my DRITZ EZY-HEM tool on nearly every project.
**************************************************************


